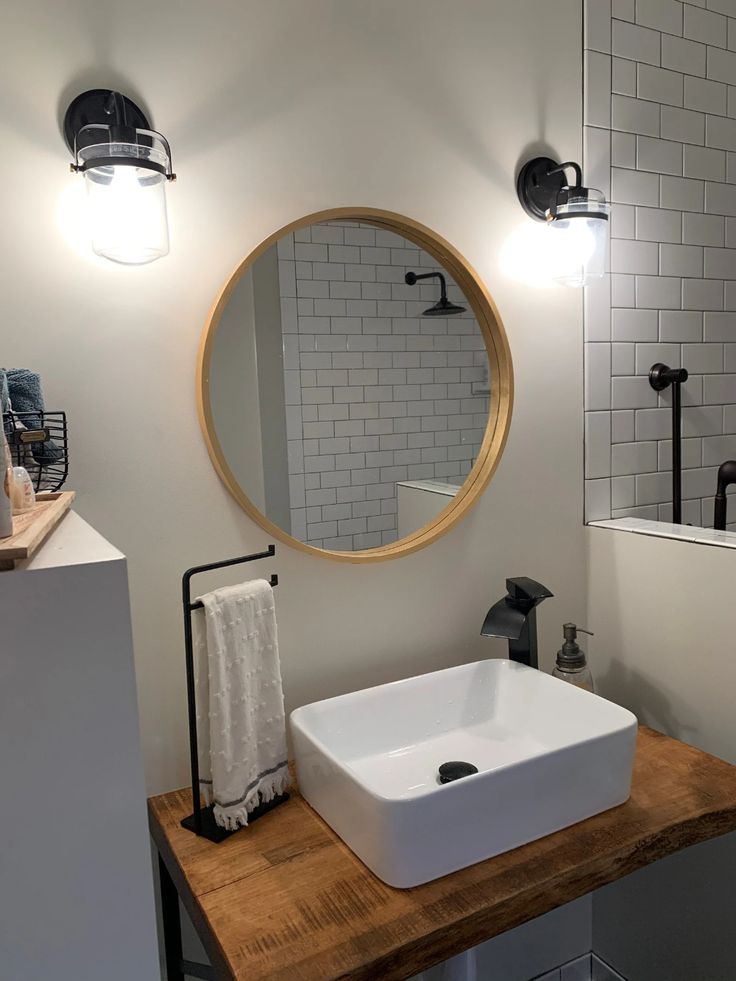
Installing a new bathroom basin can seem like a daunting task, but with the right tools, a clear understanding of the steps, and a bit of patience, it’s a manageable DIY project. Whether you’re replacing an old, worn-out basin or upgrading your bathroom’s aesthetic, this step-by-step guide will walk you through the process, ensuring a secure and leak-free installation.
Before you begin, ensure you have all the necessary tools and materials. This typically includes the new basin, faucet, drain assembly, silicone sealant, plumber’s putty, adjustable wrenches, pipe wrenches, screwdrivers, a bucket, and a utility knife.
Step 1: Prepare the Area and Disconnect the Old Basin
First and foremost, turn off the water supply to your bathroom. Locate the shut-off valves under the sink or the main water supply to your house. Once the water is off, open the existing faucet to drain any remaining water from the pipes. Place a bucket under the traps to catch any residual water.
Next, use an adjustable wrench to disconnect the hot and cold water supply lines from the faucet. Then, loosen the slip nuts on the P-trap and drain pipe to remove the old drain assembly. If your old basin is bolted to the wall or countertop, carefully remove these fasteners. With all connections severed, you can now lift and remove the old basin.
Step 2: Prepare the New Basin and Faucet
With the old basin out of the way, it’s time to prepare your new one. Begin by installing the new faucet onto the basin. Most faucets come with detailed instructions, but generally, you’ll feed the supply lines and mounting post through the holes in the basin. Secure the faucet from underneath with washers and nuts, tightening them firmly but without overtightening to avoid cracking the basin.
Next, install the drain assembly. Apply a bead of plumber’s putty around the underside of the drain flange and press it firmly into the drain opening of the basin. From underneath, attach the rubber gasket, washer, and locknut, then tighten with an adjustable wrench. Wipe away any excess plumber’s putty that squeezes out.
Step 3: Install the New Basin
Carefully lift the new basin into position. If it’s a pedestal or semi-pedestal basin, ensure it’s level and flush against the wall. For countertop basins, ensure it sits correctly in the cutout. Use a level to check for proper alignment.
If your basin requires wall mounting, mark the drill points through the basin’s mounting holes onto the wall. Drill pilot holes and insert appropriate wall anchors (e.g., toggle bolts for plasterboard or rawl plugs for solid walls). Secure the basin to the wall using the provided mounting bolts and washers. For countertop basins, apply a continuous bead of silicone sealant around the edge of the cutout before setting the basin in place.
Step 4: Connect the Plumbing
This is a critical step for a leak-free installation. Reconnect the hot and cold water supply lines to the new faucet’s supply tubes. Ensure the connections are hand-tight, then use an adjustable wrench to give them a quarter-turn more. Do not overtighten.
Next, connect the new drain assembly to your existing P-trap and waste pipe. You may need to adjust the length or angle of the tailpiece or P-trap to ensure a proper fit. Tighten all slip nuts securely. For a pop-up drain, connect the lift rod to the drain stopper mechanism as per your faucet’s instructions.
Step 5: Test for Leaks and Finish Up
Once all connections are made, slowly turn the main water supply back on. Open the new basin’s faucet and let the water run for a few minutes, checking all connections (supply lines, drain, P-trap) for any signs of leaks. Run both hot and cold water. If you spot any drips, gently tighten the corresponding connection.
Finally, apply a thin, even bead of silicone sealant around the base of the basin where it meets the wall or countertop. Smooth the sealant with a wet finger or a specialized tool for a clean finish. Allow the sealant to cure completely as per the manufacturer’s instructions before using the basin extensively.
By following these steps carefully, you can successfully install your new bathroom basin, adding both functionality and refreshed style to your space.


