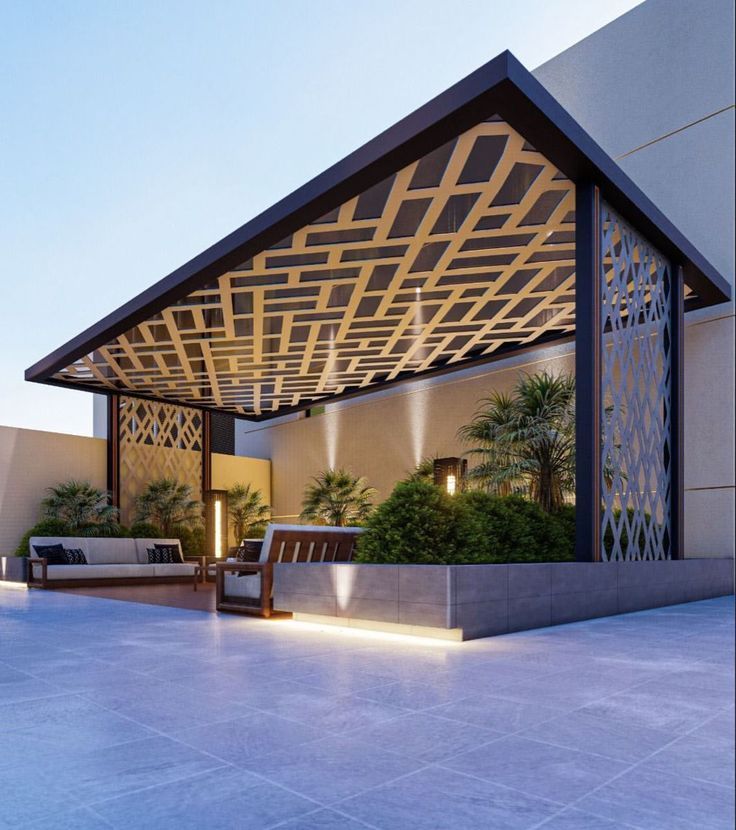
The appeal of a pergola in a New Zealand backyard is undeniable, offering shade, defining outdoor spaces, and adding aesthetic charm. While custom-built options are fantastic, many Kiwi homeowners are discovering the satisfaction and cost savings of undertaking a DIY pergola project. With readily available materials, comprehensive kits, and a wealth of online resources, building your own pergola is a rewarding endeavour that can significantly enhance your outdoor living without breaking the bank.
This article provides inspiration and practical advice for New Zealand residents considering a DIY pergola project, highlighting popular options and key considerations to ensure a successful build.
Why Go DIY with Your Pergola?
The decision to build a pergola nz yourself comes with several compelling benefits:
- Cost Savings: Labour costs are a significant component of any construction project. By doing it yourself, you can save a substantial amount, making a pergola more accessible.
- Personalisation: A DIY project allows you to tailor the design, dimensions, and finishes precisely to your taste and the unique characteristics of your backyard.
- Satisfaction: There’s immense satisfaction in stepping back and admiring a structure you’ve built with your own hands, knowing it perfectly suits your needs.
- Learning Opportunity: It’s a great way to develop new skills in carpentry, planning, and outdoor construction.
Popular DIY Pergola Options in NZ
For the DIY enthusiast, several types of pergolas are particularly well-suited for home construction:
1. Treated Pine Pergolas: The Classic DIY Choice
Treated pine is the most common and accessible material for DIY pergolas in New Zealand. Its affordability, ease of cutting and fastening, and availability in various sizes make it an ideal starting point for beginners and experienced builders alike.
- Pros: Cost-effective, widely available, easy to work with standard tools, can be stained or painted to match any aesthetic.
- Cons: Requires regular maintenance (staining/sealing) to protect against UV and moisture. Ensure you use H3.2 or H4 treated timber for outdoor durability.
- DIY Tip: Pre-cutting all your timber pieces according to a detailed plan before assembly will save time and ensure accuracy. Use robust galvanised or stainless steel fasteners for longevity.
2. Pergola Kits: Convenience and Confidence
For those who prefer a more guided approach, pre-fabricated pergola kits are an excellent DIY solution. These kits come with all the necessary components – pre-cut timber or aluminium, hardware, and detailed instructions – taking much of the guesswork out of the process.
- Pros: All materials supplied, clear instructions, reduced cutting and measuring errors, faster assembly.
- Cons: Less customisation than a full scratch build, may be slightly more expensive than buying raw materials.
- DIY Tip: Carefully check the kit contents against the packing list before starting. Organise all components for easy access during assembly.
3. Simple Aluminium Pergolas (from Kits): Modern DIY
While custom aluminium pergolas often require specialist fabrication, simpler aluminium kits are becoming available for the DIY market. These typically feature bolt-together systems that are surprisingly straightforward to assemble.
- Pros: Modern aesthetic, extremely low maintenance (no painting/staining), durable and weather-resistant.
- Cons: Can be a higher initial cost than timber kits, requires precise assembly.
- DIY Tip: Ensure all connections are secure and level. Aluminium can be scratched, so handle components carefully during assembly.
Essential Steps for a Successful DIY Project
Regardless of the type of pergola you choose, a few fundamental steps are crucial for success:
- Planning and Design: Measure your space accurately. Sketch out your design, considering dimensions, height, and how it will integrate with your existing outdoor area. Look for free plans online or adapt existing designs.
- Permits: Check with your local council. Depending on the size and location of your pergola, you may need a building consent. It’s always better to check beforehand.
- Tools and Materials: Gather all necessary tools (saws, drills, levels, measuring tape, safety gear) and ensure you have all materials before you begin.
- Foundations: Proper footings are vital for stability. This usually involves digging holes, pouring concrete, and setting post anchors.
- Assembly: Work systematically, ensuring each component is level and plumb before moving to the next step. Don’t rush.
- Finishing: Apply appropriate stains, paints, or sealants to timber for protection and aesthetic appeal.
A DIY pergola project can be a highly rewarding experience for New Zealand residents, resulting in a beautiful and functional outdoor space that perfectly meets your needs and budget. With careful planning and a willingness to get hands-on, your dream pergola is well within reach.


